
Simple Sourdough Biscuits

Before You Bake Simple Sourdough Biscuits 🧈
Welcome, biscuit lovers! This is one of the easiest ways to use up sourdough starter, and it's also one of the most satisfying. You'll get tall, flaky layers with a buttery, slightly tangy flavor, and most of the work happens in about 20 minutes. Read through these quick tips first and your Simple Sourdough Biscuits will thank you.
The Golden Rule: Keep Everything Cold ❄️
If you remember just one thing, make it this. Cold butter, cold milk, and cold starter are the secret to flaky biscuits. As the biscuits bake, the cold butter melts and releases steam, and that steam creates the little pockets and layers you're after. Pull your ingredients from the fridge right when you need them, and if your kitchen is warm, pop the bowl back in the fridge for a few minutes if the butter starts to soften.
Discard or Active Starter? 🫙
Good news, either one works!
Discard: Straight from the fridge is perfect. No feeding needed, and it adds a mild tang.
Active, bubbly starter: Totally fine too. If you measure by volume, stir it down well first to knock out the bubbles. If you measure by weight, you'll use the same amount either way.

Gather Your Tools 🧰
Nothing fancy here. You'll need:
A large mixing bowl and a measuring cup for the starter and milk
A fork (this is your secret weapon for mixing gently)
A floured counter or work surface
A 2 and a half inch round cutter, or a sharp knife or bench scraper if you'd rather cut squares
A baking tray lined with parchment paper
A pastry brush for the milk on top
A pastry cutter if you'd like it, though I prefer using my fingers
Freezer or fridge space for the chilling step
Meet the Butter 🧈
The butter is the star of this recipe, so here's how to handle it. Cut it into small cubes, toss them in the flour, then press each piece between your thumb and index finger to flatten it into a thin little "petal." Those flat, flour coated flakes are what turn into flaky layers in the oven. If you'd rather skip the pinching, grated cold butter works beautifully too. It's totally fine if some pieces are bigger or smaller than others, as long as they're mostly flat.
What the Dough Should Look Like 👀
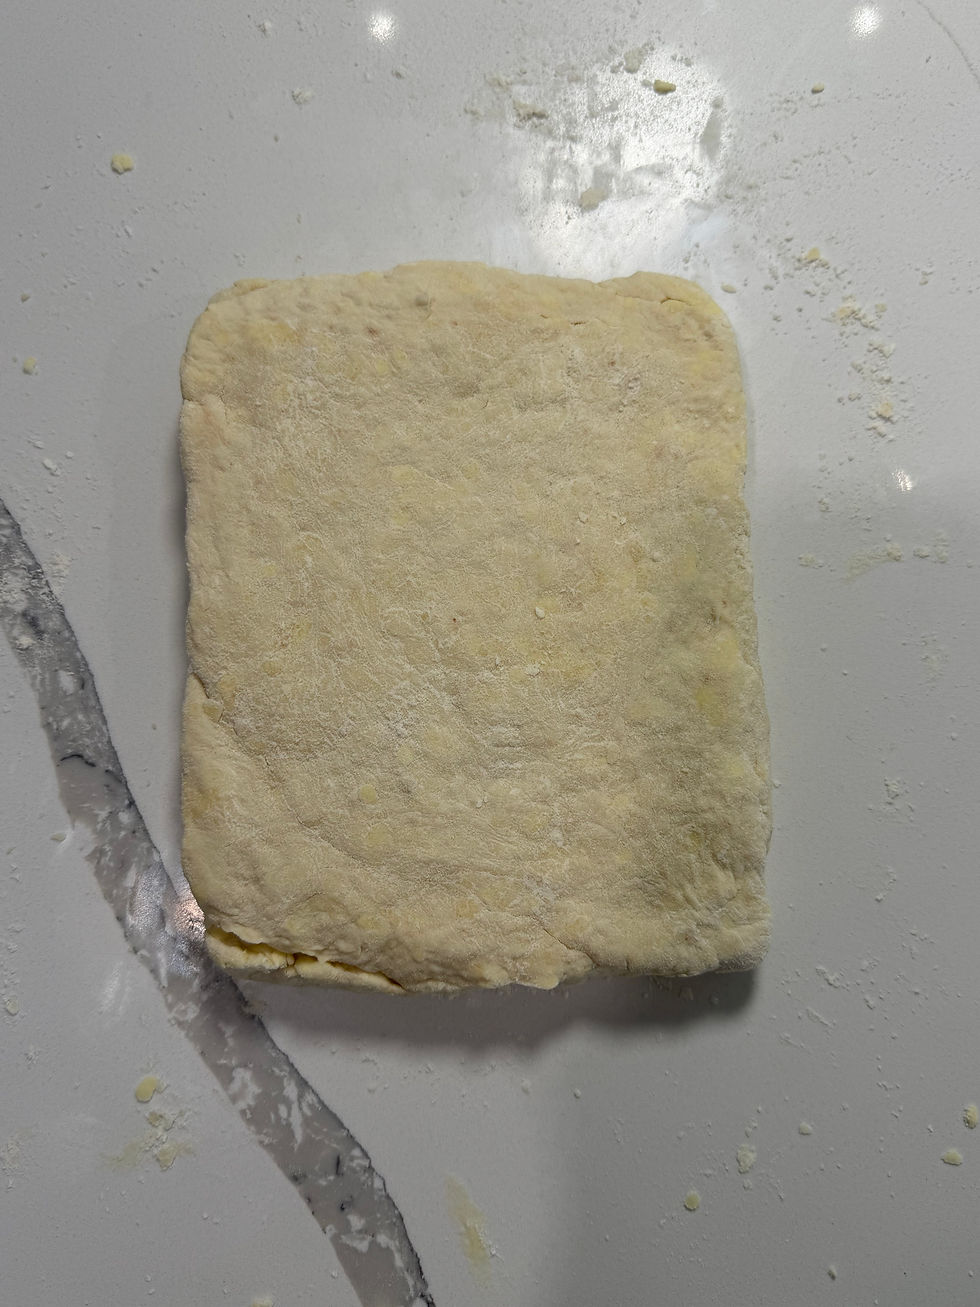
Don't expect a smooth, pretty dough. When you drizzle in the starter and milk mixture and stir with a fork, you're looking for a shaggy, slightly rough dough that just holds together. Stirring with a fork keeps you from overmixing, which can make biscuits tough. Starters vary in thickness, so you might not need all of the liquid. If the dough already feels wet enough, stop there.
Plan Your Time ⏰
This recipe is quick, but the chill time is worth planning for. Here's roughly how it goes:
About 20 minutes: Mix the dough, then fold and stack for layers
30 minutes: Chill in the freezer (or cover and refrigerate overnight, or up to 48 hours)
15 to 18 minutes: Bake at 400°F until golden
That puts warm biscuits on your table in about an hour and a half, with most of that time spent waiting.
Skip the Chill? You Can, But... 🧊
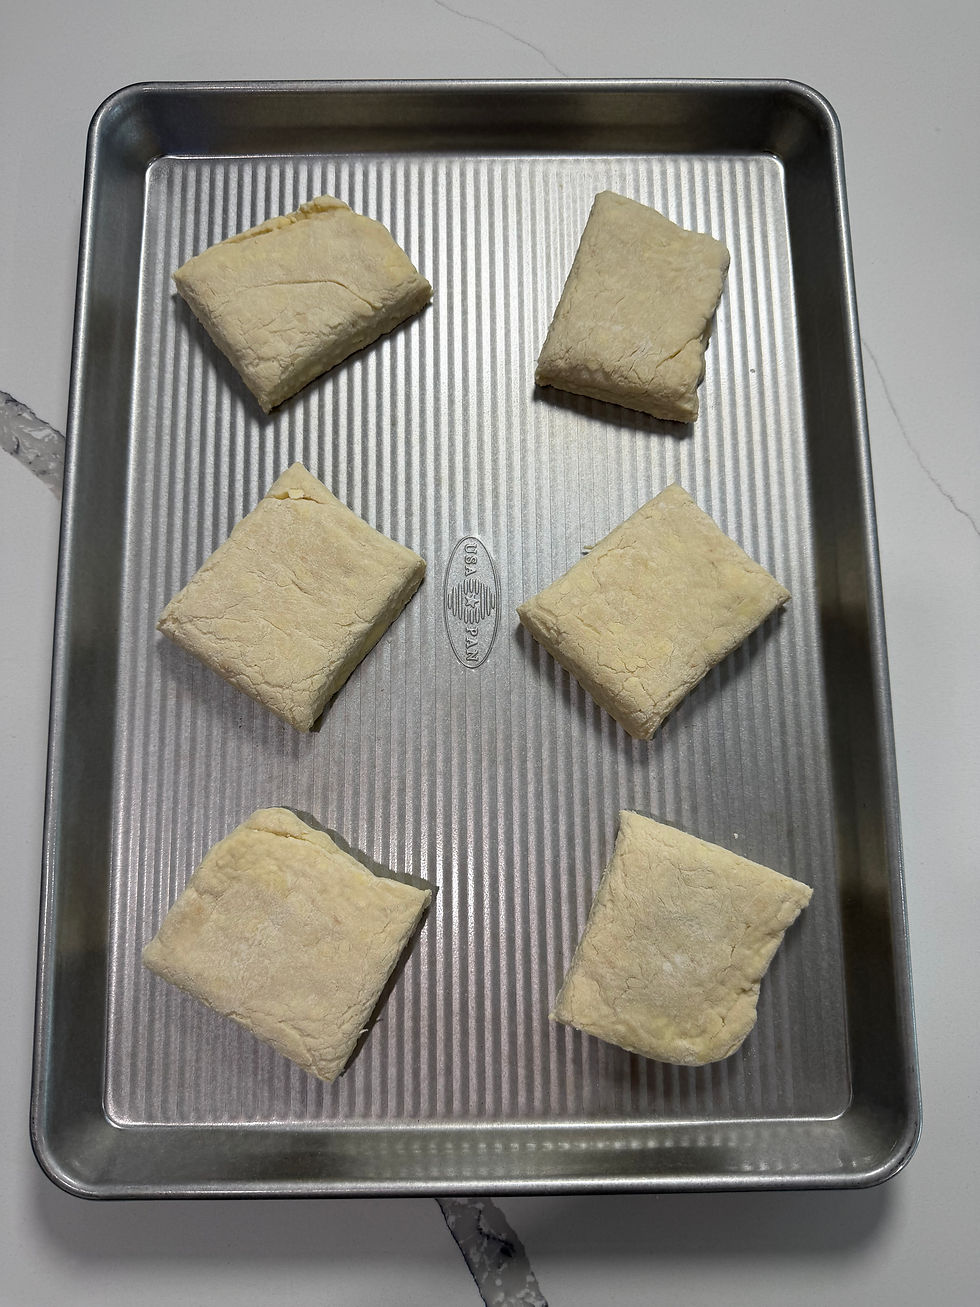
Chilling the dough before cutting and before baking is optional, but it's the best "flakiness insurance" there is. Chilling after you cut the dough gives you taller, flakier biscuits than cutting after chilling.
Make Them Ahead 🗓️
Biscuits are great for planning ahead. Once shaped, you can cover them tightly and refrigerate for up to 48 hours before baking, and a lively starter will give you a tangier flavor over that time. You can also freeze them shaped and bake straight from frozen. We'll cover the details in the notes below the recipe.
A Few Last Reminders 💛
Cut straight down and lift straight up. Twisting your cutter (or sawing with a knife) seals the edges and keeps the biscuits from rising.
Stack your scraps, don't squish them. Layer them on top of each other and press to 1 inch, and the reshaped biscuits will be just as flaky.
Bake them close together. Placing them touching lightly on the tray helps them rise upward as a team.
Dough doesn't need to be perfect. Rustic, craggy tops are part of the charm!
Ready? Grab your butter, keep it cold, and let's bake. 🥐


1
Discard or active starter:
Either works. If you use active starter and measure by volume, stir it down first to knock out the bubbles. If you measure by weight, the amount is the same.
2
Fridge make ahead:
Shape the biscuits, cover them tightly, and refrigerate for up to 48 hours before baking. A lively starter will add a bit of tang over that time.
3
Freezer make ahead:
Freeze shaped biscuits in a single layer on parchment. Once solid, move them to a freezer bag and bake straight from frozen within 3 months.
4
Leftovers:
Baked biscuits keep in an airtight container at room temperature for 2 to 3 days, or in the fridge for up to 5. Wrap them very well to freeze for up to a month.
Notes



1
Start cold. Keep your butter, milk, and starter in the fridge until you need them. Cold ingredients are what make biscuits flaky.
2
Mix the wet. Stir the starter and milk together in a measuring cup and set it aside.
3
Whisk the dry. In a large bowl, combine the flour, baking powder, baking soda, salt, and sugar.
4
Work in the butter. Toss the grated butter in the dry ingredients until no longer sticky. A pastry cutter works too. You're after lots of pea-sized, flour coated pieces, and a mix of sizes is fine.
5
Add the wet gently. Pour in the starter mixture a little at a time, stirring with a fork until a shaggy dough forms. You may not need all of it, since starters vary in thickness.
6
Pat it out. Tip the dough onto a floured counter and pat it into a rectangle about 1 inch thick.
7
Fold for layers. Cut the rectangle in half, stack one piece on the other, and press it back down to 1 inch thick. Repeat one or two more times. This step is optional, but it gives you tall, visible layers. If you'd rather make drop biscuits, skip the folding and scoop spoonfuls straight onto your tray.
8
Chill. Press the dough into a final 1 inch rectangle and freeze it for 30 minutes. You can also cover it and refrigerate it overnight, or up to 48 hours.
9
Get the oven ready. Preheat to 400°F and line a baking tray with parchment.
10
Cut. Use a floured 2 and a half inch round cutter, or slice the dough into 9 squares. Press straight down and lift straight up. Twisting or sawing seals the edges and keeps the biscuits from rising. Stack any scraps instead of squishing them together, then press them to 1 inch and cut again.
11
Arrange and brush. Place the biscuits on the tray close together but not touching, so they rise as a team. Brush the tops with milk.
12
Bake. Bake for 18 to 22 minutes, until golden and no raw dough shows on the sides.
Instructions
2 Cups All-Purpose Flour
1 Tablespoon Baking Powder
1/4 Teaspoon Baking Soda
1/2 Teaspoon Pink Himalayan Salt
1 Tablespoon Sugar (Optional)
1 (4oz) Stick of Butter (Salted or Unsalted)
1 Cup Sourdough Starter
1/2 Cup Milk of Choice
Sourdough Biscuits

Simple Sourdough Biscuits
Sourdough Enthusiast
Joseph Kurc

Flaky, buttery, and just a little tangy, these simple sourdough biscuits are a great way to use up your discard. Cold butter and a few easy folds create tall, tender layers, and you can make them ahead and bake whenever the craving hits.
Servings :
8 Biscuits
Calories:
Prep Time
25 min
Cooking Time
25 min
Rest Time
15 min
Total Time
1 hour 5 min

Comments